A single decision on a rain-soaked porch sets the tone for Take Care of Simon 2: Bad Ending. Hovering over a yellow, large-eyed Sprunki character stranded in the dark blue storm, players face a stark red X and a green checkmark. Choosing to turn Simon away immediately collapses the bright presentation into an explicit bad ending screen detailing his abandonment and starvation. Choosing to welcome him inside unlocks a multi-room care sandbox centered around feeding, cleaning, and resting the expressive creature.
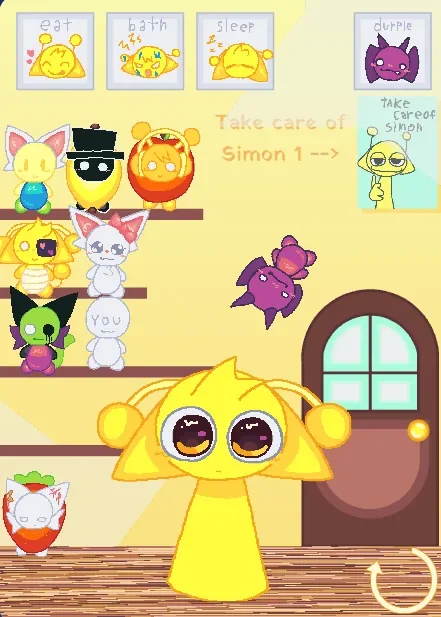
Created by @gamecube_loll, the experience plays out like an interactive fan-art scrapbook where domestic chores share space with sudden cartoon violence and macabre humor. While the title highlights its darker outcome, the primary loop actually revolves around tending to Simon's daily needs across connected activity hubs. The contrast between bright, sticker-like interface elements and looming tragedy defines the entire experience, making even routine care feel slightly tense.
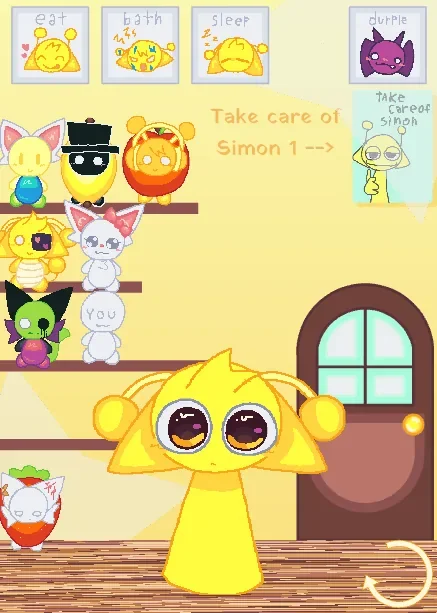 7 Game Screenshots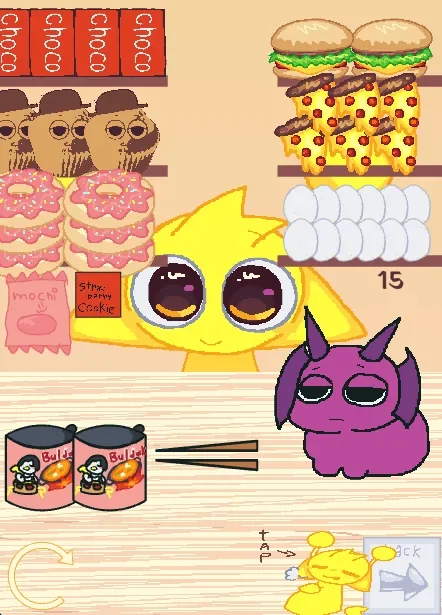
The Adoption Choice and Hub Structure
The opening choice stands as the narrative focal point. Pressing the red X does not merely cancel the session or reset the menu; the camera freezes, the scene pauses, and the game transitions directly to its dedicated bad ending text. Player observations highlight how frequently this sequence triggers genuine guilt, with many returning players apologizing after deliberately or accidentally triggering the starvation outcome. Selecting the green checkmark avoids this fate entirely, ushering Simon into a central hub that grants access to four main activities alongside a portal linking back to the previous game in the series.
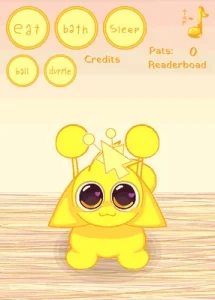
Once inside the hub, traditional progression structures are discarded. There are no strict daily clocks, health meters, or linear quest markers dictating what to do next. Players select a room, perform its associated interactions, and return to the hub to repeat or swap activities at will. Simon’s visual poses and vocal cues offer the only feedback on his condition. While this freedom encourages relaxed exploration, it also leaves the goal open-ended, and players occasionally report minor friction with UI softlocks or state freezing when jumping rapidly between interactive props.
Kitchen Toy-Box and Feeding Mechanics
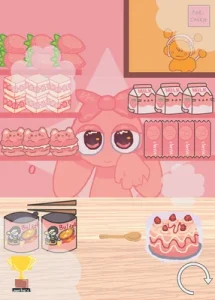
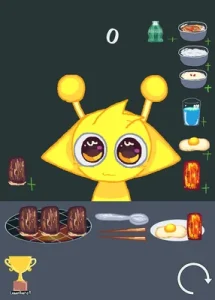
The food room is the densest, most mechanics-rich section of the game. Simon sits behind a long dining table packed with ramen, chopsticks, steak, pizza, cake rolls, boiled eggs, dango, rice balls, cola, Yakult, macarons, and custom character-shaped treats. Objects can be tapped directly or dragged across the screen, and specific utensils interact directly with matching dishes. Feeding Simon chopsticks full of ramen or offering individual treats produces distinct animation frames, body movements, and unique audio cues rather than a single generic swallowing visual.
Feeding also introduces the game’s primary long-term metric: an "eats" counter that tracks every item consumed, backed by a persistent leaderboard on the Castle release. This lightweight clicker mechanic gives players a reason to return to the kitchen after discovering all the basic animations. However, the crowded layout poses minor visual challenges. Food items line up in dense rows without clear indicators showing whether an object requires a simple tap, a full drag-and-drop motion, or combination with another prop on the table.
Bathing, Bedtime, and the Bonus Encounter
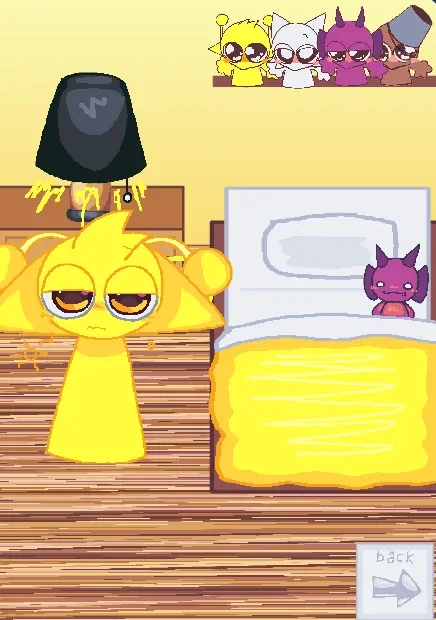
The remaining domestic spaces focus on smaller, targeted routines. Bath time requires players to manually move soap, water, and a towel over Simon's body, relying on changes in his animated reactions to confirm when each step of the wash is complete. The bedroom offers a quieter atmosphere, featuring a bed and a light switch that toggles the room between light and dark settings while Simon shifts between alert and sleeping poses. Because the bedroom contains fewer prop combinations, it serves primarily as a gentle breather between busier activities.
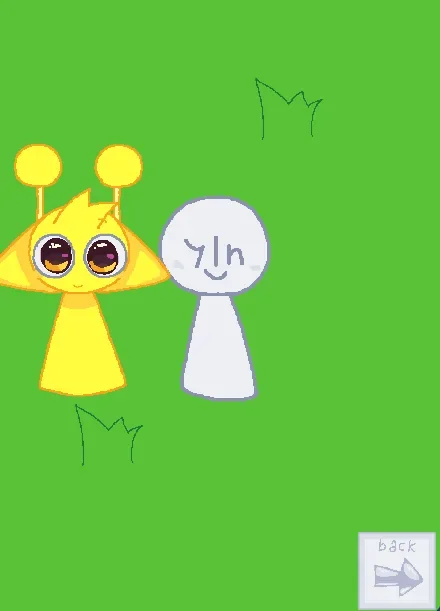
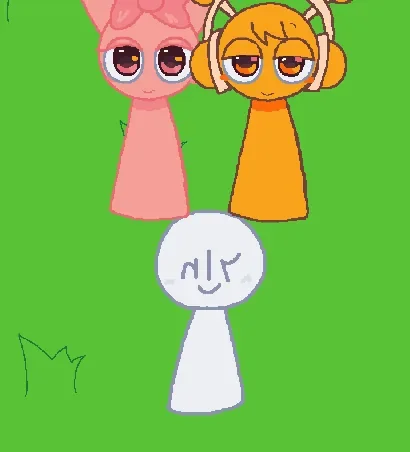
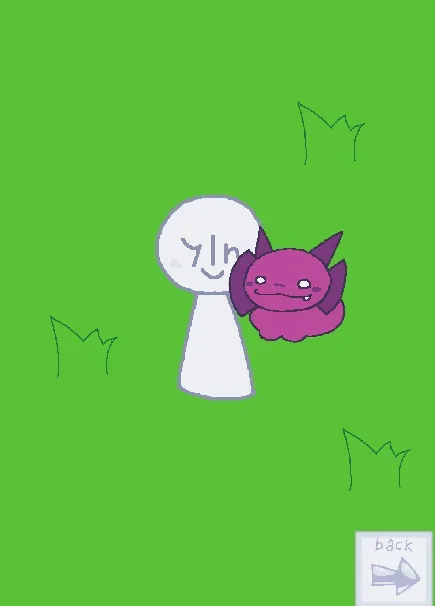
The fourth portal in the hub departs sharply from domestic care, leading to a character-focused action diversion. Equipped with an on-screen analog control for movement, players navigate an arena filled with familiar Sprunki figures including Oren, Pinki, and Durple. This mode incorporates direct physical collisions, aggressive dialogue, and dramatic blood effects. Player experimentation reveals that attacking or poking Pinki in this scene causes Oren to swiftly retaliate and strike down the player character, reinforcing the dark subtext introduced in the opening bad ending screen.
Controls and Visual Design
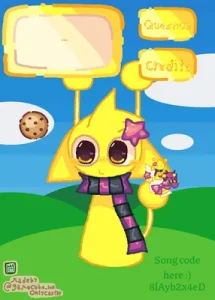
Visually, the game relies on hand-drawn character designs featuring thick, deliberately uneven outlines set against deep blue backgrounds. Interactive controls look like hand-cut stickers, and background walls showcase community references and creator credits. While touch devices offer the most intuitive control scheme for dragging items across the screen, mouse players can achieve full control by paying careful attention to object hitboxes.
| Action | Input | Result |
|---|---|---|
| Choose a room or activate an object | Tap or left-click | Opens activities, toggles room features, or triggers a reaction |
| Feed or reposition something | Drag with a finger or mouse | Moves food, utensils, Simon, soap, and other interactive props |
| Leave an activity | Tap the visible return control | Returns to Simon’s central hub |
| Move in the bonus encounter | On-screen analog control | Guides the playable character through the additional scene |
Combining playful item manipulation with sudden dark outcomes gives Take Care of Simon 2: Bad Ending a memorable identity on Fortcade. Players who enjoy freeform virtual pets, secret character reactions, and macabre humor will find plenty to test across the dining table and bonus stages. Those seeking a pure, wholesome pet simulator or a structured management game with precise instructional guides should be aware of its sudden spikes in violence and trial-and-error input design.